How to Customize Your Author Settings
Customization is a powerful feature that comes with our Organized Authors subscription. It allows us to tailor Character Role Levels, Character Relationship Types, and Content Categories according to our unique preferences and needs. In this article, we will walk you through the steps to customize these items in your author settings.
Step 1: Accessing Author Settings
To get started with customization, follow these steps:
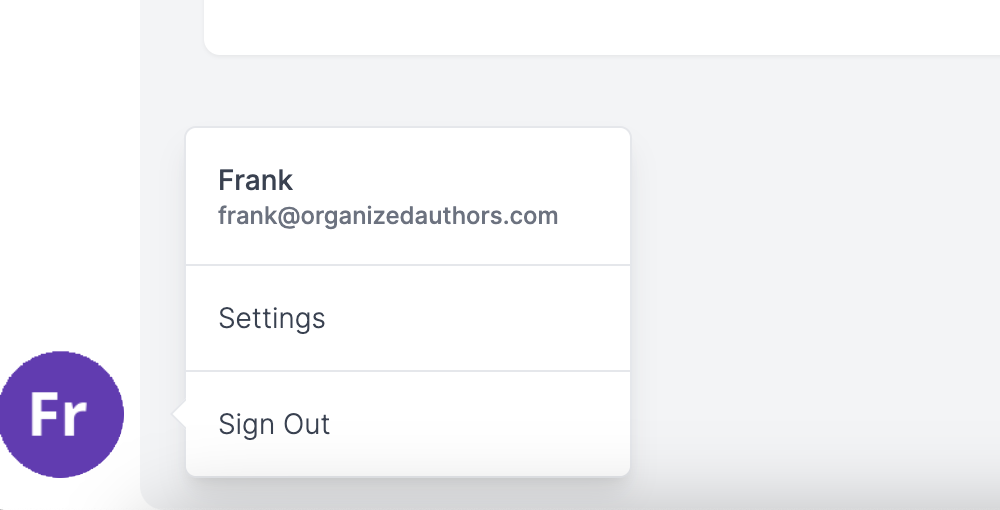
- Navigate to your author profile by clicking on the bottom left-hand corner of your browser.
- Select "Settings" from the options.
- Choose "Customization" from the menu.
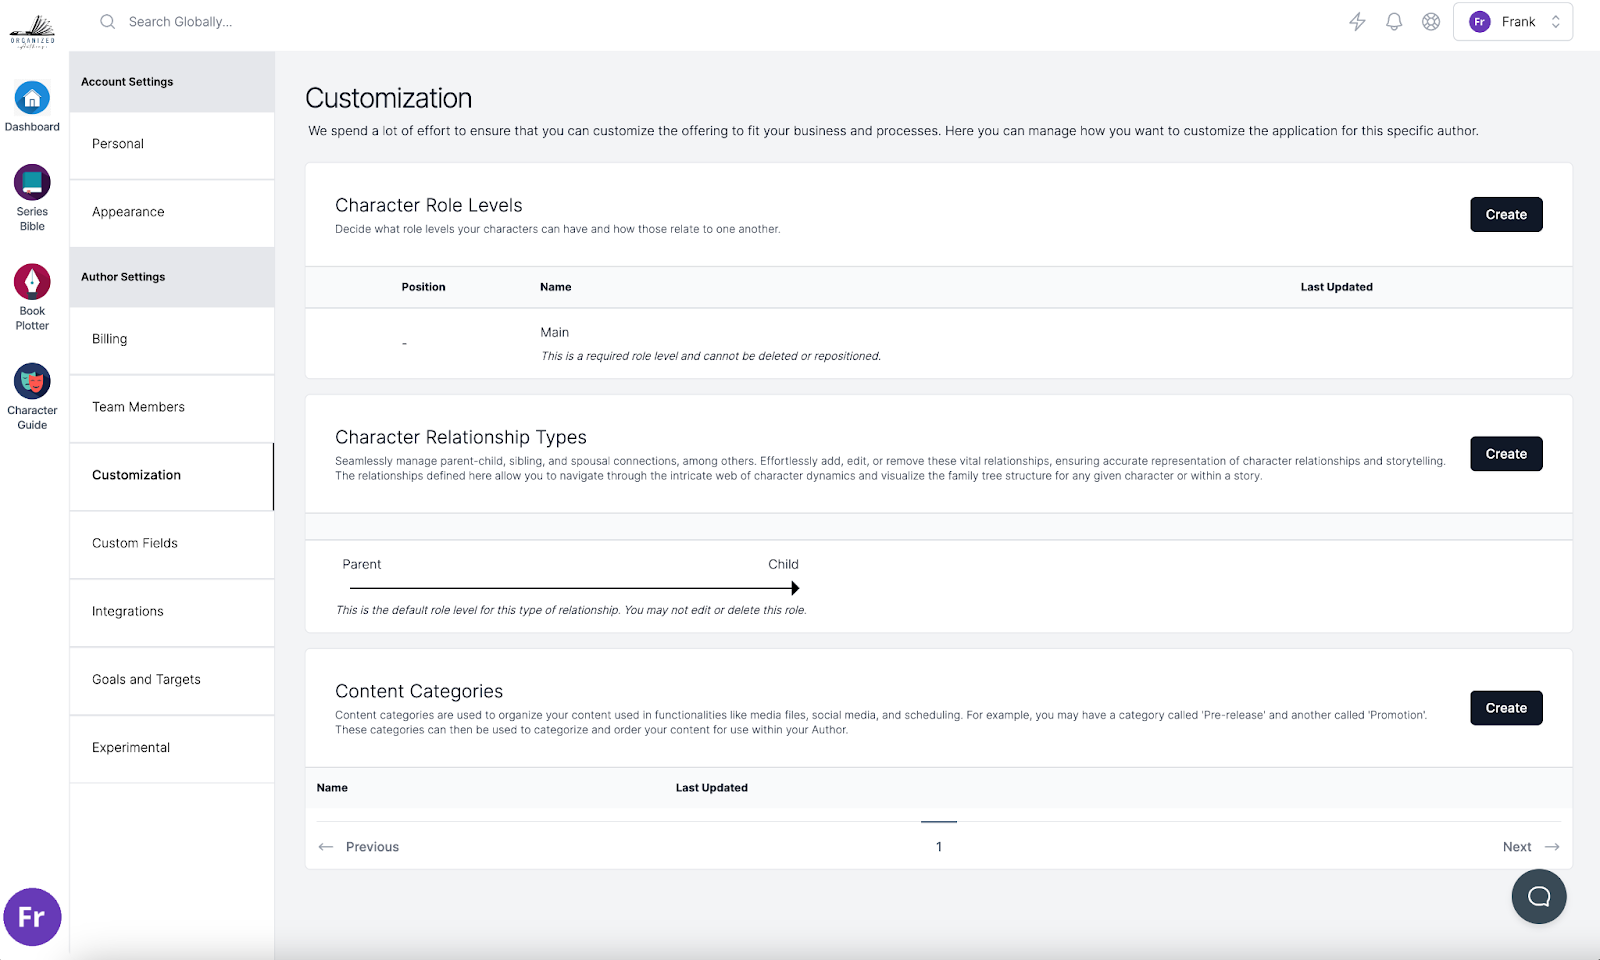
Step 2: Customizing Character Role Levels
Character Role Levels offer flexibility in accounting for various character types and roles in your books. Here's how to customize them:
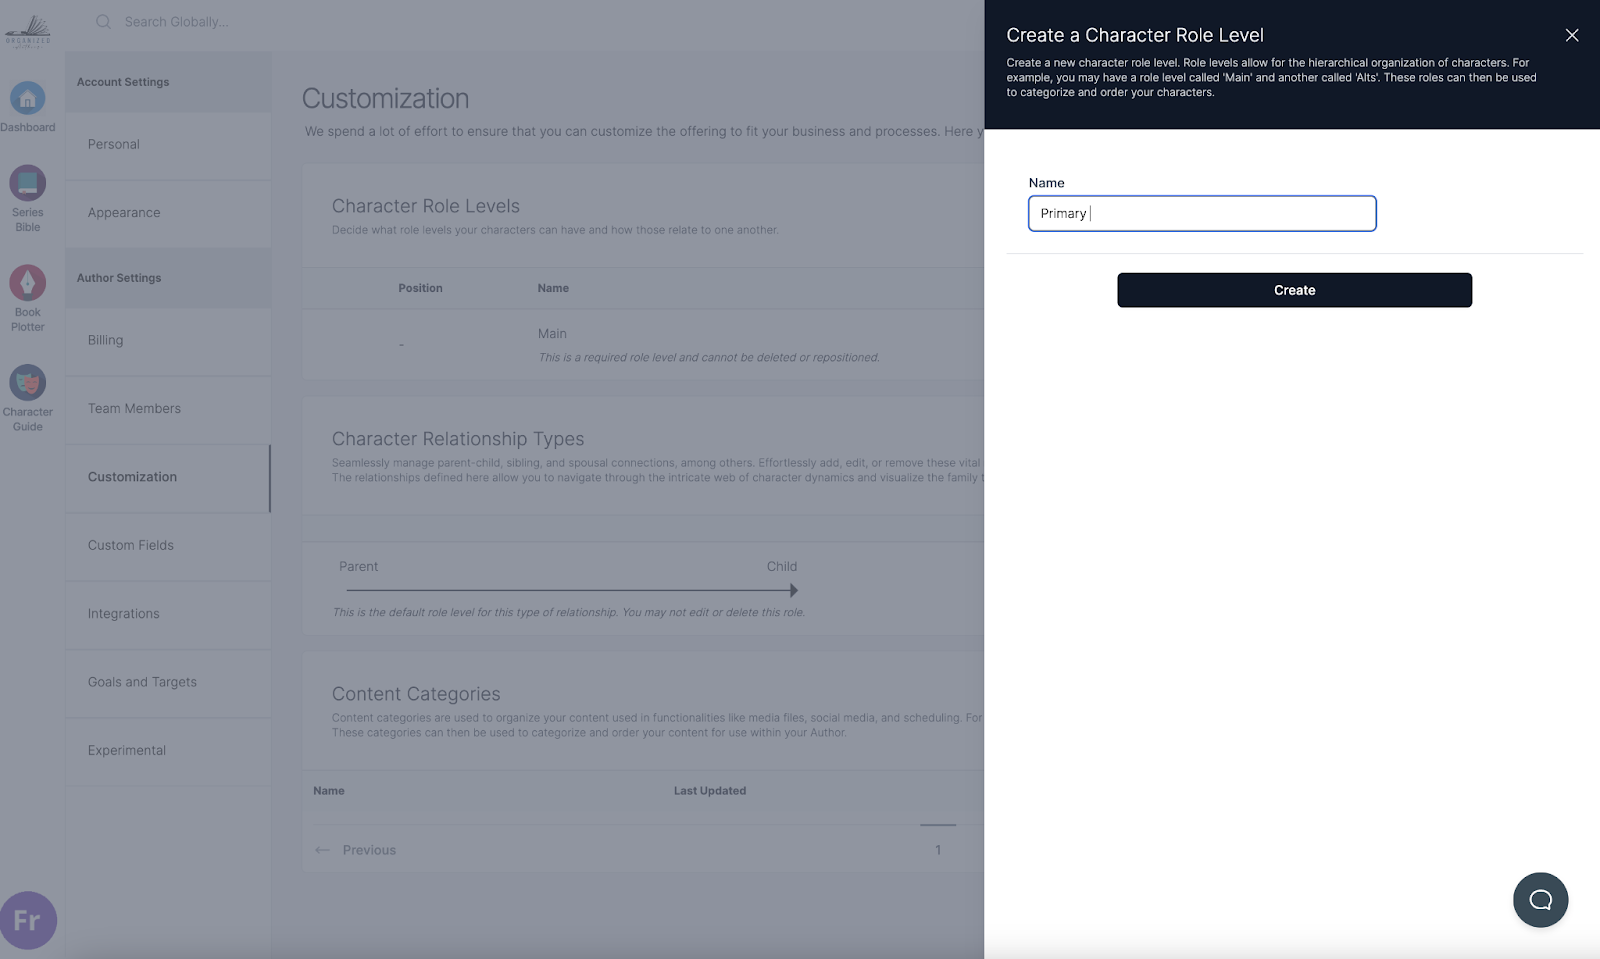
- Click on the "Create" button to add a new role level.
- Type in the name of the role level and select "Create."
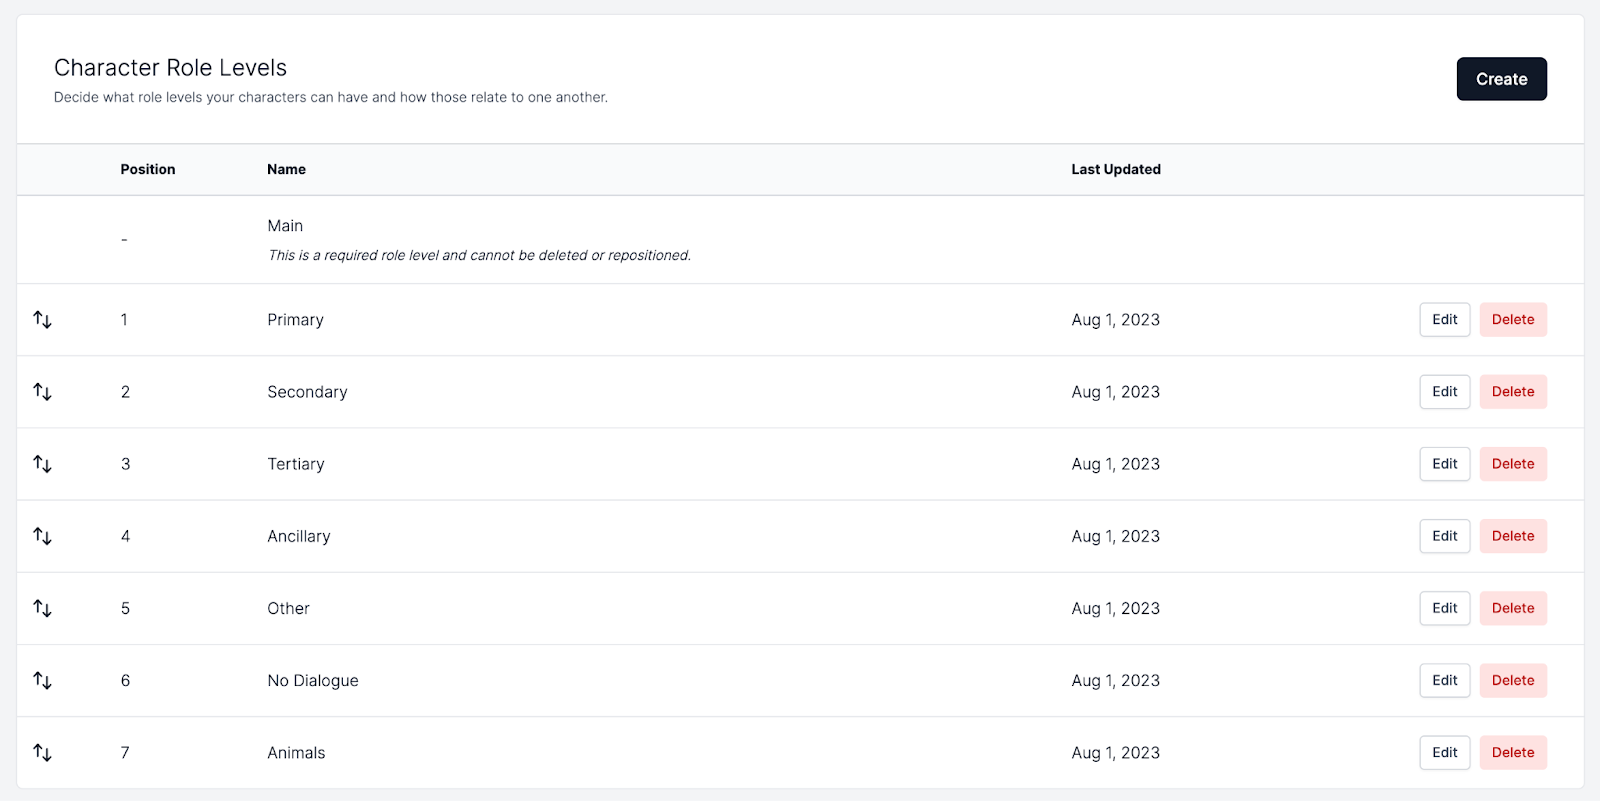
- Feel free to create role levels for any character type you can imagine, from Main and Secondary to babies, animals, supernatural beings, and characters without dialogue.
- Your customized character role levels will be displayed on your title pages, providing a quick overview of the character hierarchy in each book.
- The only required role level is "Main characters," as they are featured next to your book titles in the title list.
- To rearrange the hierarchy, simply click and drag the role levels to the desired positions.
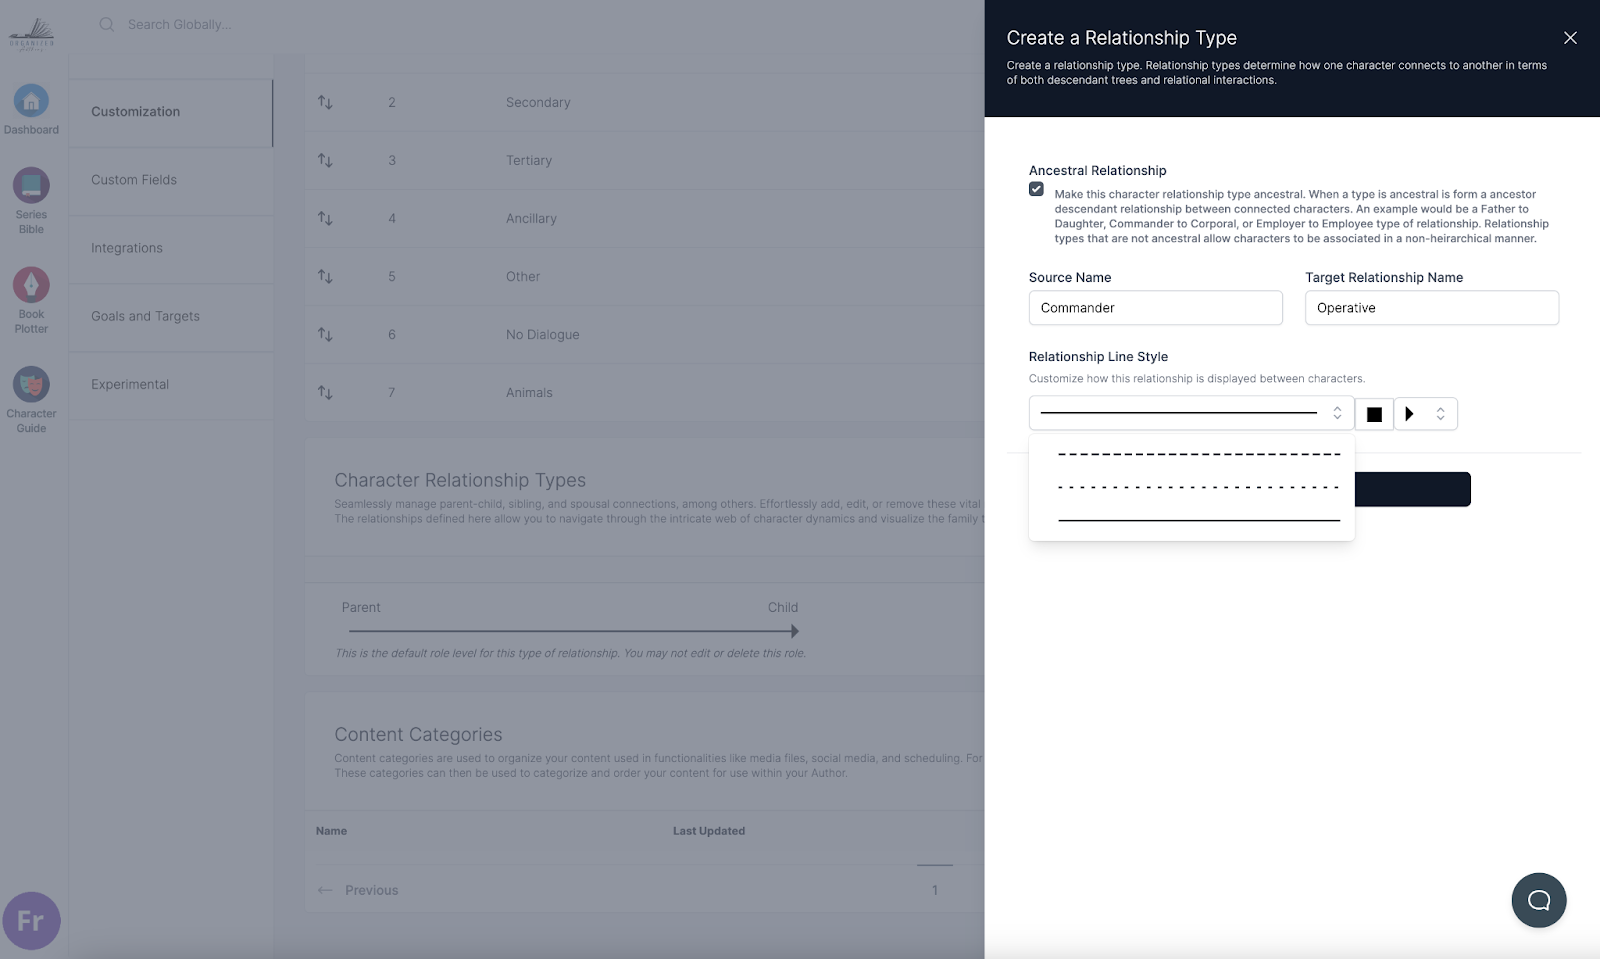
Step 3: Building Character Relationship Types
Character Relationship Types help you keep track of relationships between characters, creating family or relationship trees to enhance your writing process. Follow these steps to customize them:
- Click on the "Create" button to add a new relationship type.
- Define whether the relationship is hierarchical, such as a parent-child relationship, or non-hierarchical, like a friendship or romantic relationship.
- Customize the line type, color, and endpoints to differentiate various relationship types in character family trees.

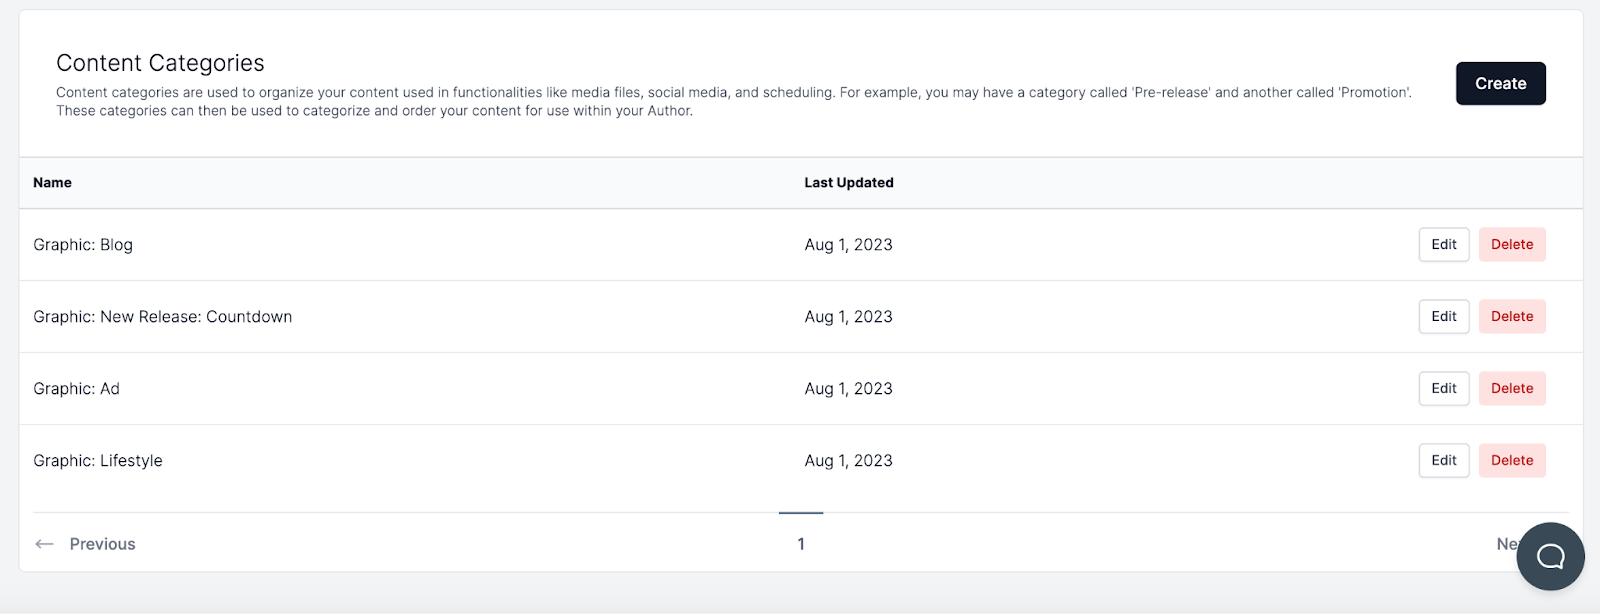
Step 4: Creating Content Categories
Organized Authors allows you to categorize and label your book or series content for easy access. Here's how to create Content Categories:
- Click on the "Create" button to add a new content category.
- Type in the name of the category and select "Create."
- You can create categories for different content types, such as graphics, audio, and more.
- These content categories will help you organize your media files section in series and title pages.

With these customization options, we can tailor Organized Authors to fit our creative vision and writing process. Enjoy the benefits of personalized settings to make your author journey even more efficient and enjoyable!
For further assistance or any additional inquiries, don't hesitate to reach out to our dedicated support team via the in-app help chat or at support@organizedauthors.com.